Overview
Groundhogg integrates with SendGrid to deliver fast and reliable email at scale. This guide walks you through installing the integration, connecting your SendGrid API credentials, and enabling bounce and complaint handling.
How fast is SendGrid?
Groundhogg’s SendGrid integration can send up to 50 emails/second. The true speed will be dependent on factors like your PHP version, hosting, connection, etc.
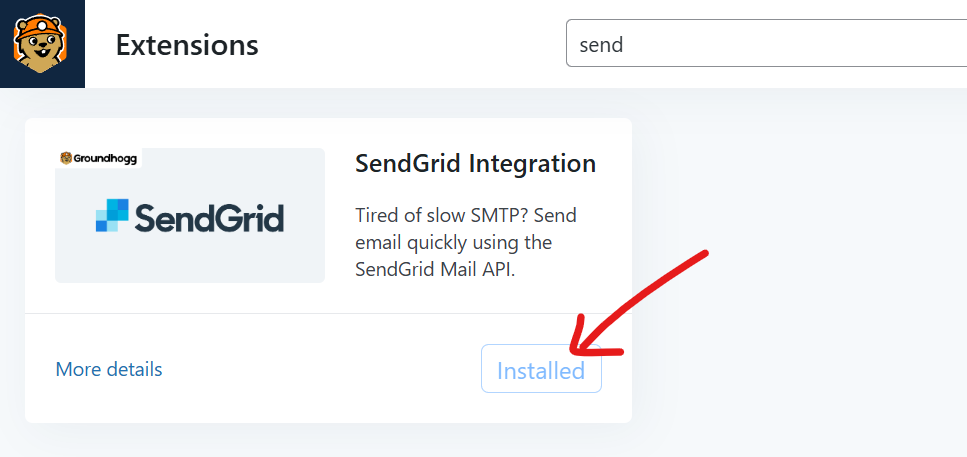
Install the Integration
You can install the SendGrid integration using the Groundhogg Helper plugin or manually upload the plugin files. Once the integration is installed the SendGrid settings will appear in Groundhogg » Settings » Email.
Get Your API Credentials
- Log in to your SendGrid Dashboard.
- Go to Settings » API Keys.
- Click Create API Key.
- Name the key something like “Groundhogg Integration.”
- Choose Restricted Access and set Mail Send to full access.
- Click Create & View and copy the API key.

Store the key in a secure place—you’ll need it for the next step.
Connect Groundhogg to SendGrid
- In your WordPress admin, go to Groundhogg » Settings » Email.
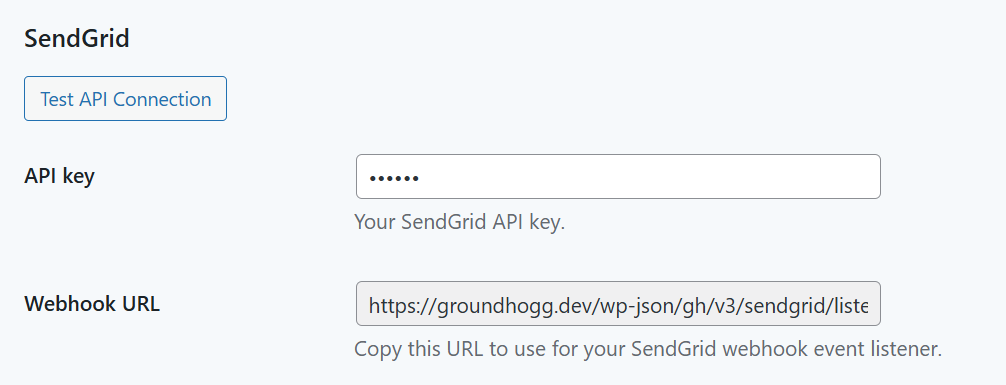
- Scroll down to the SendGrid settings.
- Paste your SendGrid API key into the field provided.
- Save your changes, and the page will reload.
- Click Test API Connection to verify the API key works.
Groundhogg will now use SendGrid for all outgoing emails.
Bounce and Complaint Handling
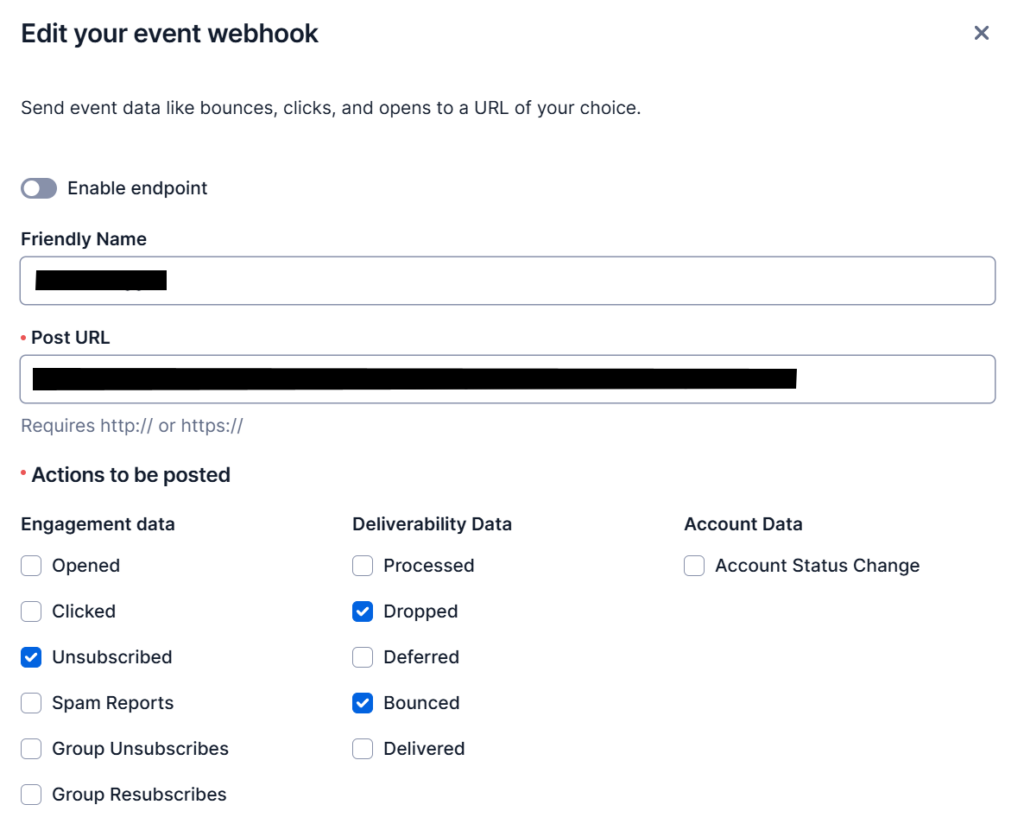
To automatically mark contacts as bounced or unsubscribed based on SendGrid feedback, set up an event webhook in SendGrid:
⚠️ Not all SendGrid account levels have access to webhooks. Verify your account has access to the webhook feature.
- In your SendGrid dashboard, go to Settings » Mail Settings.
- Scroll to Event Webhook and click the gear icon.
- Enable the following event types:
- Bounced
- Spam Report
- Dropped
- For the Post URL, copy the Webhook URL from the SendGrid settings (underneath where you entered the API key) in Groundhogg. It will look something like
https://yoursite.com/wp-json/gh/v3/sendgrid/listener?webhook_key=foobar - Save your changes.
SendGrid will now send bounce and complaint feedback to Groundhogg and manage your list automatically.
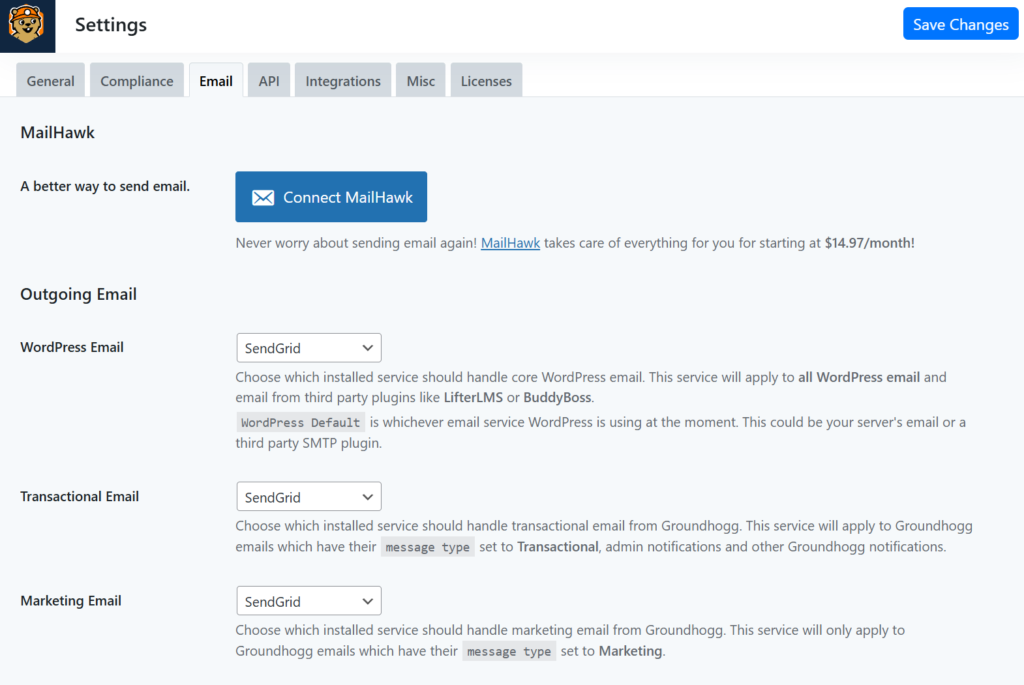
Tell Groundhogg To Use SendGrid
Groundhogg will not use SendGrid automatically. You must select which types of email Groundhogg should send using SendGrid. At the top of Groundhogg » Settings » Email select SendGrid for the desired email types.
Disable Link Tracking (Recommended)
To avoid conflicts with Groundhogg’s built-in tracking:
- Go to Settings » Tracking in your SendGrid dashboard.
- Disable Click Tracking and optionally Open Tracking.
- Save changes.
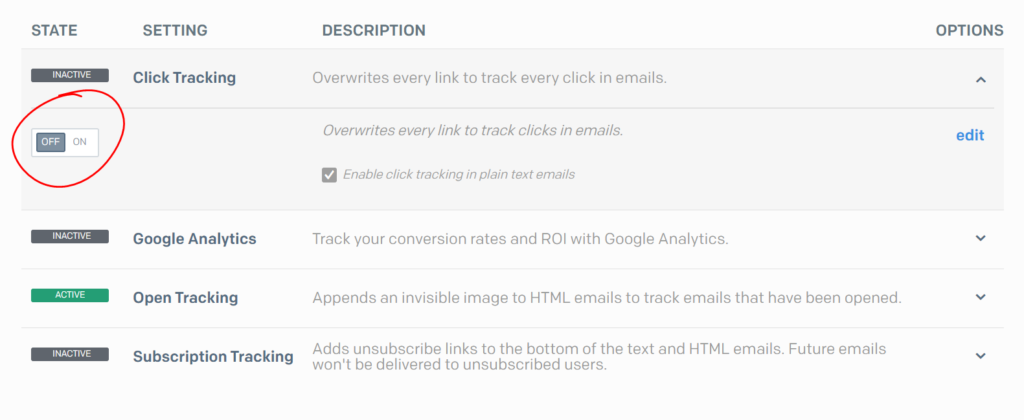
This ensures Groundhogg handles all engagement tracking for accurate reporting.
Was this helpful?
Let us know if this document answered your question. That’s the only way we can improve.